Mushroom Cultivation Kits
Our mushroom cultivation kits contain about 4.5 kg of substrate made from beech sawdust sourced from the Jura Vaudois region, a bit of organic wheat bran, and the mycelium of the mushroom of your choice. These are the same substrates we use in our production, so we almost always have them available.
You can cultivate grey, white, yellow, pink, or Italian oyster mushrooms, the fatty Pholiote, Hericium (Lion’s Mane), Pioppino, Shiitake, or even Reishi!
The most economical way to get your kit is to pick it up at our markets or at the lab in Pompaples, but we can also send it by mail.
We will, of course, be by your side for any questions or issues you encounter using your kit, but if you follow the instructions below, everything should go smoothly.

I’ve received my mushroom kit!
What now?
From our side:
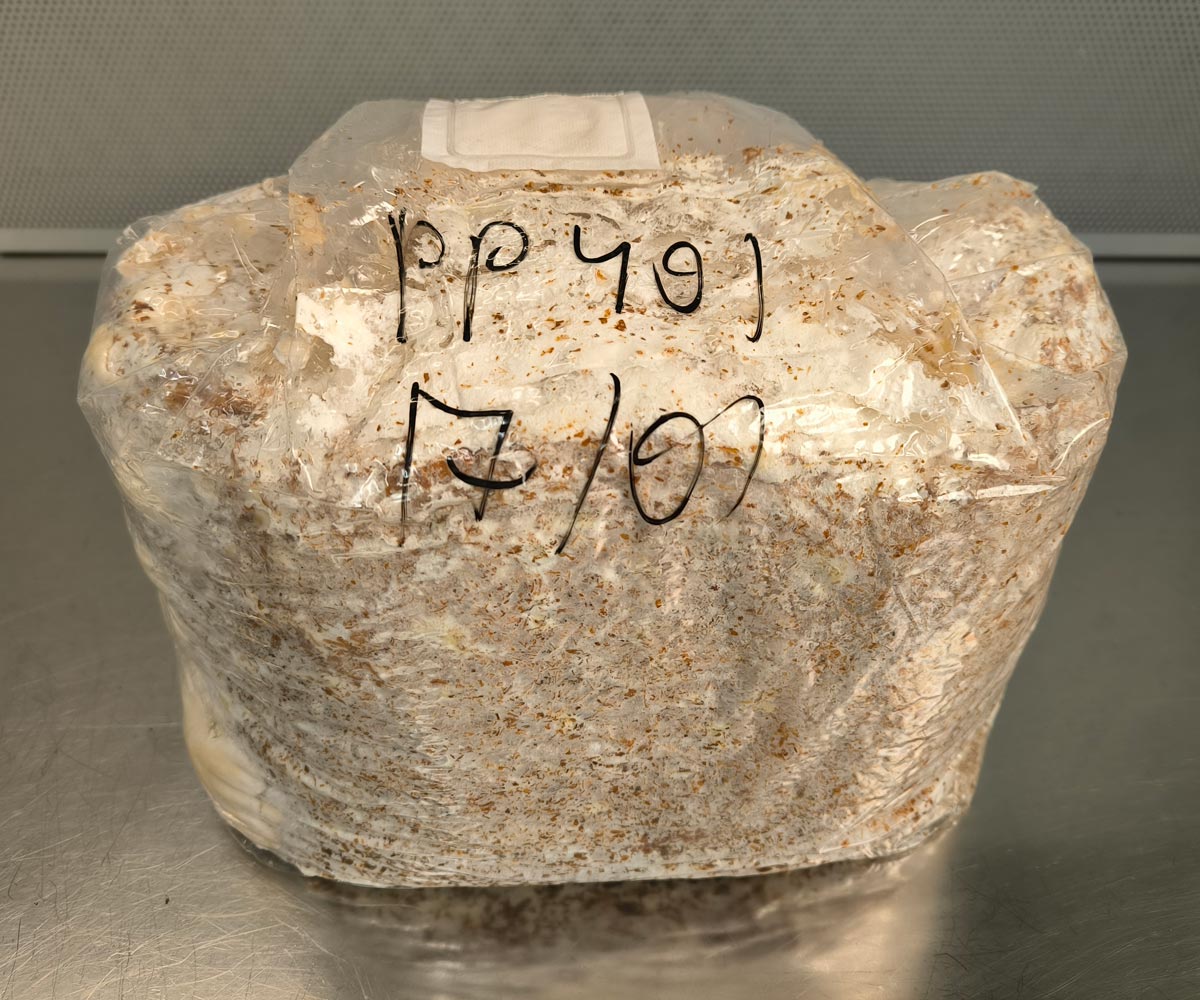
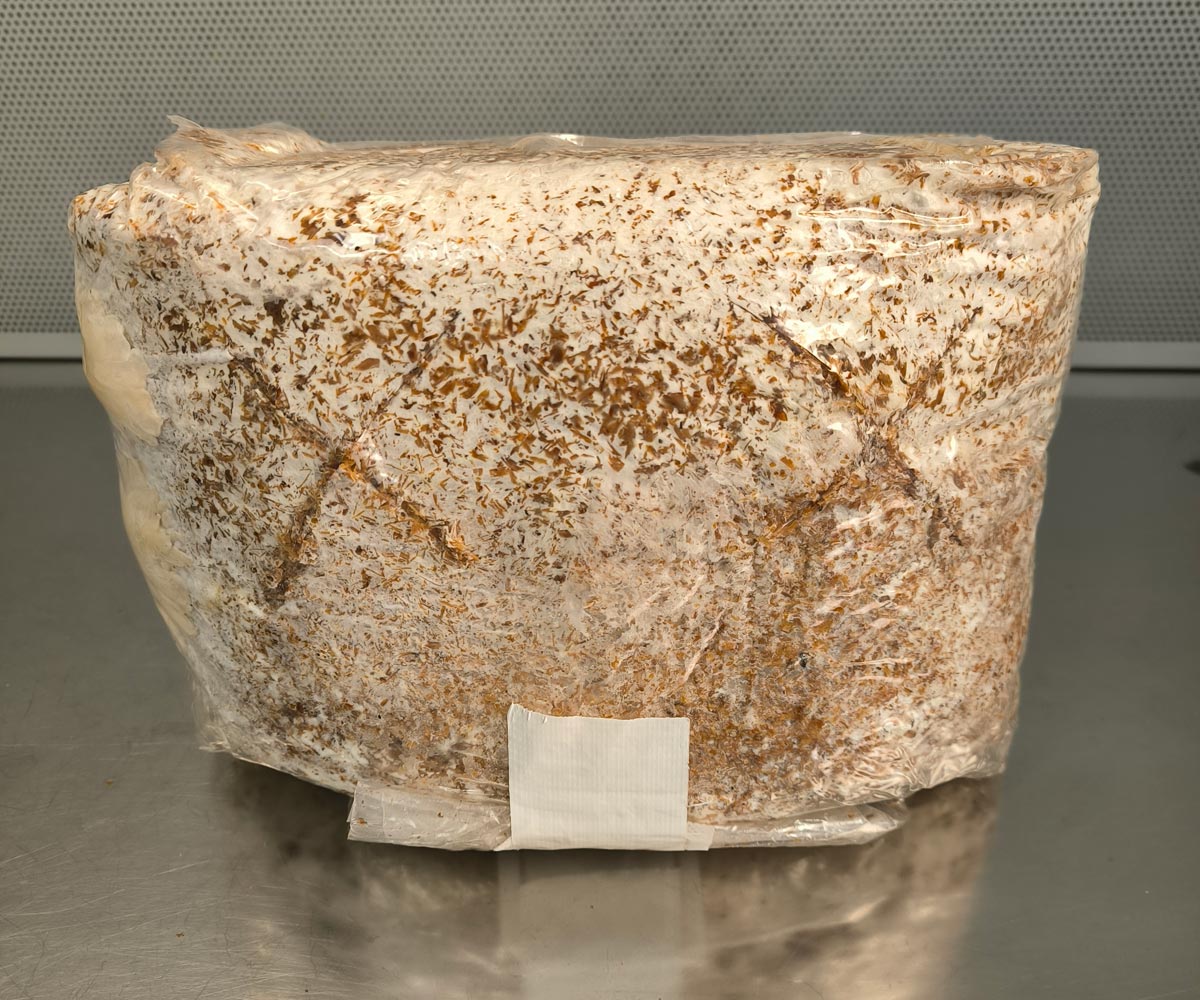
The kit you have in hand has been pre-incubated, meaning we have already grown the mycelium inside the substrate at a summer-like temperature between 20 and 25°C. Pre-incubation under controlled conditions is important for the survival of the mycelium, which does not tolerate sudden temperature changes during its vegetative growth. The kit only leaves the lab once fully matured, so it’s much sturdier now! 😉
Now it’s your turn! Here are some initial tips:
For fruiting, the mycelium must sense that autumn is coming, so it needs cooler conditions.
These mushrooms require temperatures between 15 and 22°C to grow, with light but no direct sunlight.
If your apartment is a bit warm in winter or the place where you put the kit is above 20°C, put your kit in the fridge for 24 to 48 hours (except for pink oyster mushrooms and reishi, which are tropical). This cold shock signals the mushroom to start fruiting.
If you have underfloor heating, don’t place the kit on the floor; instead, put it on a chair or piece of furniture.
When preparing the kit, try to work as cleanly as possible, preferably in a kitchen or on a clean table, with clean hands. If you have alcohol, wipe the outside of the kit and your hands with it.
If you can’t attend to it immediately, no problem, put it in the fridge. It can stay there easily for two months, except for the pink oyster, which cannot tolerate those temperatures.
Preparing the mushroom kit
When you receive a “raw” kit like this, the advantage is that you can choose how you want your mushrooms to grow! 🙂
Simply put, there are three main fruiting methods: SIDE fruiting, TOP fruiting, or “naked” fruiting!
If your kit has already started producing aborted mushrooms on its surface, don’t worry — it just takes a couple more minutes to prepare. This is called the scratching technique.
Si par hasard ton kit semble avoir commencé à produire des avortons de champignons sur sa surface, ce n’est pas grave, ça prend deux minutes de plus à préparer, on appelle ça la technique du “scratching” ou grattage.

Scratching technique:
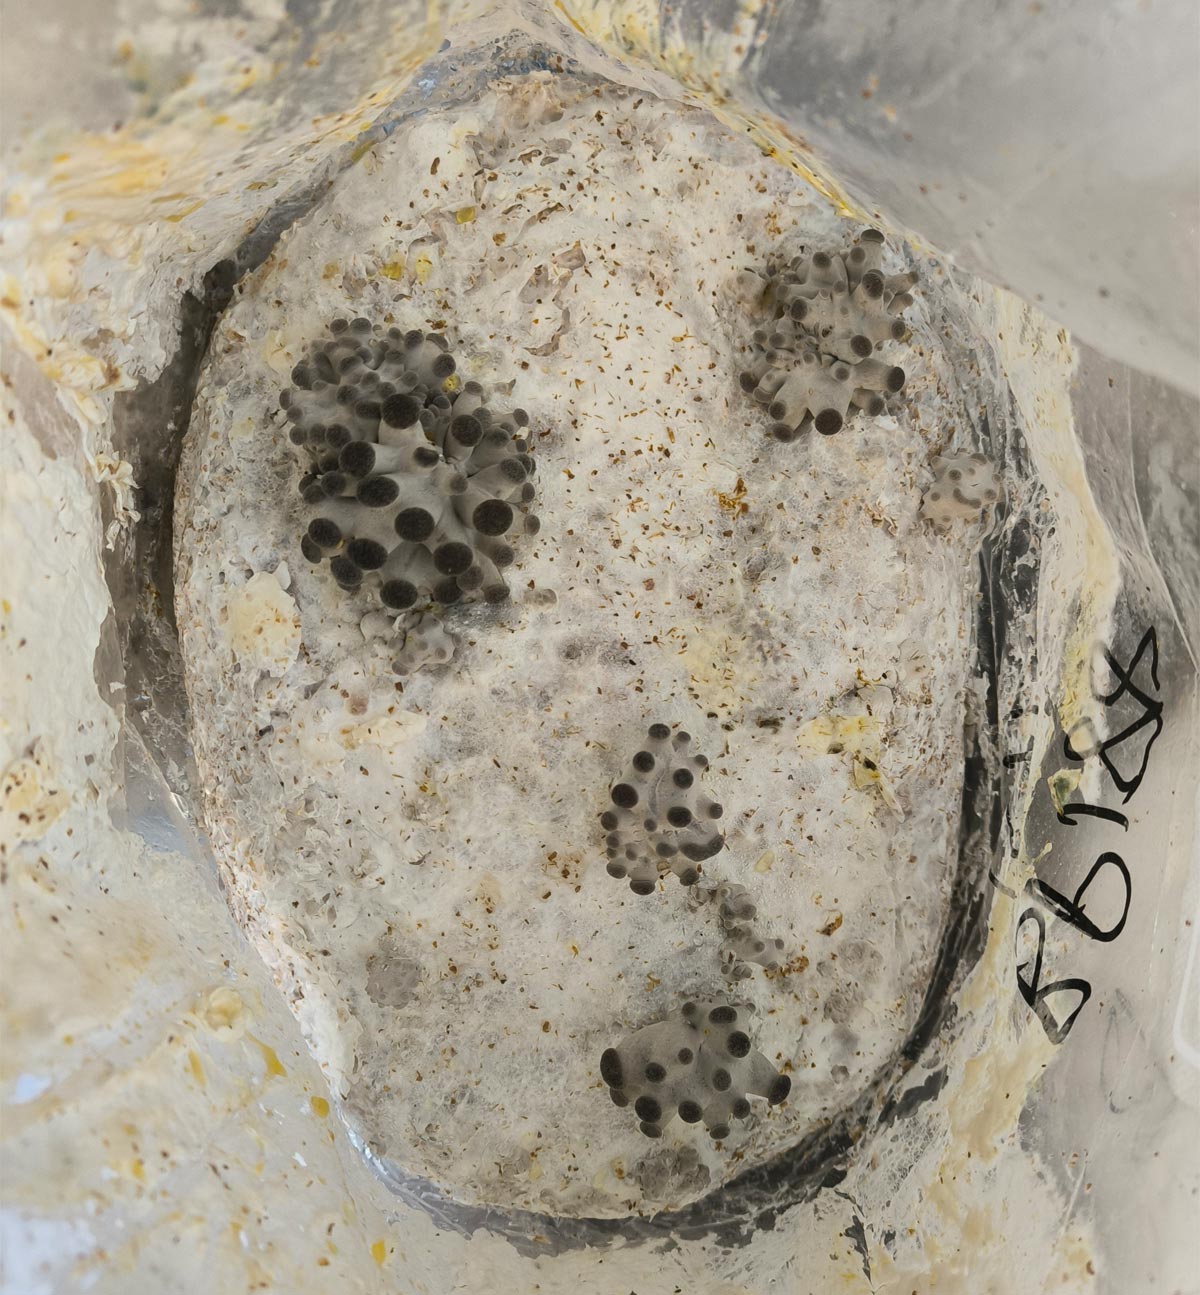
Some mushrooms are very sensitive to oxygen and try to grow on the surface exposed to air before the kit is opened. This is typical for Hericium and some oyster mushrooms.
It’s not a problem, but it is useful to remove these aborted mushrooms for two reasons:
1/ If you prepare the kit for SIDE FRUITING and leave the aborted mushrooms, they will be crushed by the kit, slowly die, and decompose, attracting bacteria. These bacteria trigger the mycelium to produce metabolites (antibiotics) to control or kill the bacteria, which can cause the bag to leak.
2/ The energy used to grow and maintain these aborted mushrooms and produce metabolites is lost energy that could be used for your mushrooms.
So: with clean hands and gloves disinfected with alcohol if possible, open the bag, remove the aborted mushrooms, and if needed, remove the crust of mycelium on the surface while minimizing substrate loss. Then continue preparing the kit for fruiting — it only takes two minutes.
SIDE FRUITING
Mushrooms best suited for side fruiting:
All oyster mushrooms
Lion’s Mane (Hericium)
Chesnut mushroom (Pholiota adiposa)
Turkey Tail (Coriolus versicolor)
With this method, mushrooms grow on the part of the substrate in direct contact with the plastic, simulating growth from the surface of a log.
How to do it:
Since oxygen contact is the main trigger for mushroom growth here, first remove the air pocket in the kit by cutting a small corner to let the air out, folding the plastic neatly like an envelope. Once all the air is out, place the kit upside down and cut openings to let the mushrooms out.
If the humidity conditions are ideal, I usually make two 5 cm crosses on the same face to concentrate the mycelium’s energy in one direction. In drier environments, smaller holes (e.g., 1×1 cm) are better.

Humidification:
Mushrooms need humidity to grow without drying out (especially in dry winter apartments). Options include:
1/ Spray water several times a day on the cuts until mushrooms appear, then continue until growth stops. This works best in a somewhat humid environment (e.g., bathroom).
2/ Cover the kit with a transparent plastic box as a mini-greenhouse and spray water inside 1–3 times daily. Ventilate before each spray.


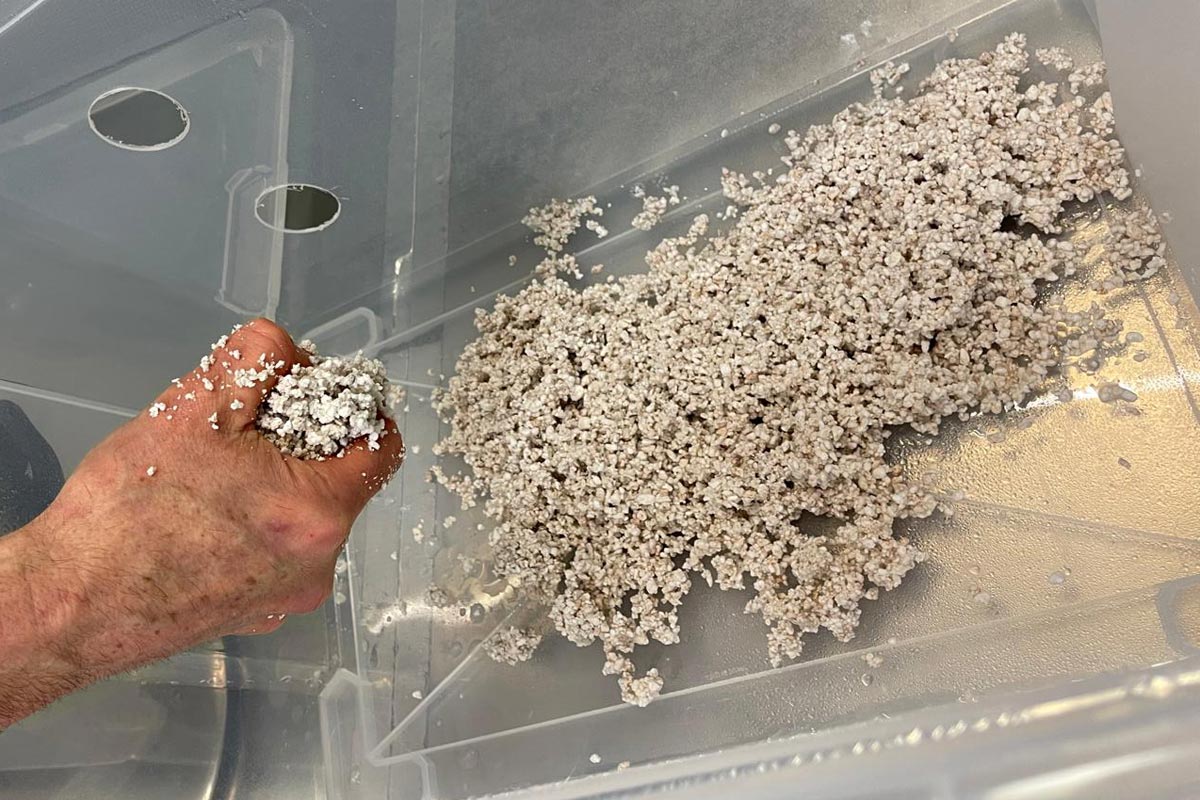
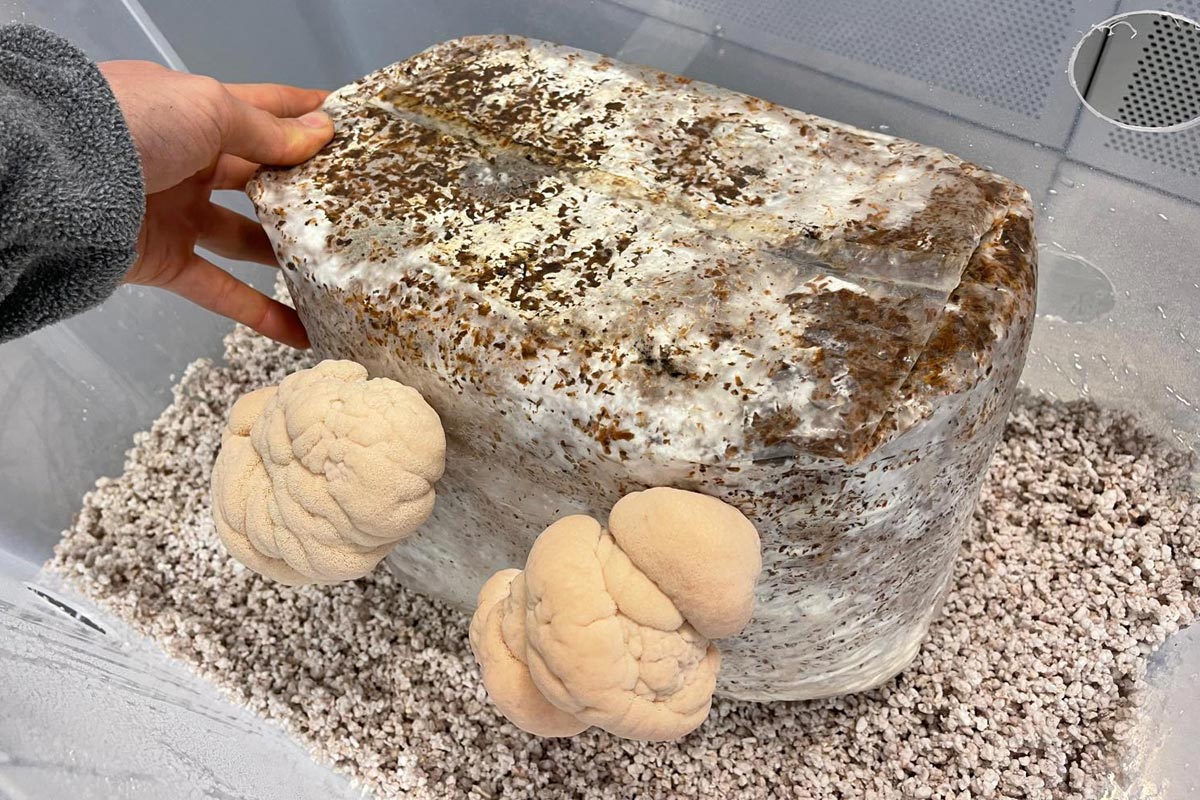
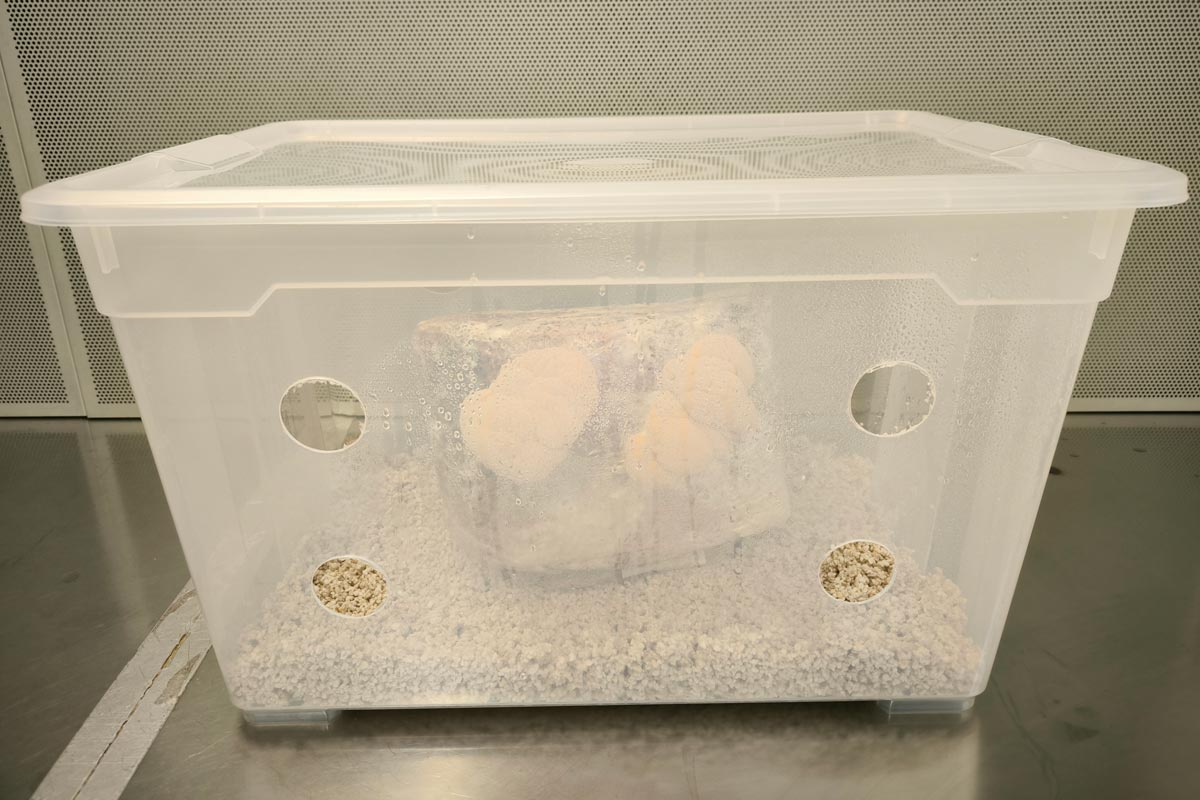
3/ The “SHOTGUN” method: place the kit in a plastic box lined with 3–4 cm of wet perlite, cover with a lid (with holes or slightly open), and spray water 1–2 times daily. This method allows you to leave the kit unattended for a weekend.

4/ Use a mini-greenhouse tent with shelves (like the Martha tent), humidify and ventilate like with the box, allowing you to manage multiple kits.
Mushrooms take 2 to 4 weeks to appear depending on species and conditions.
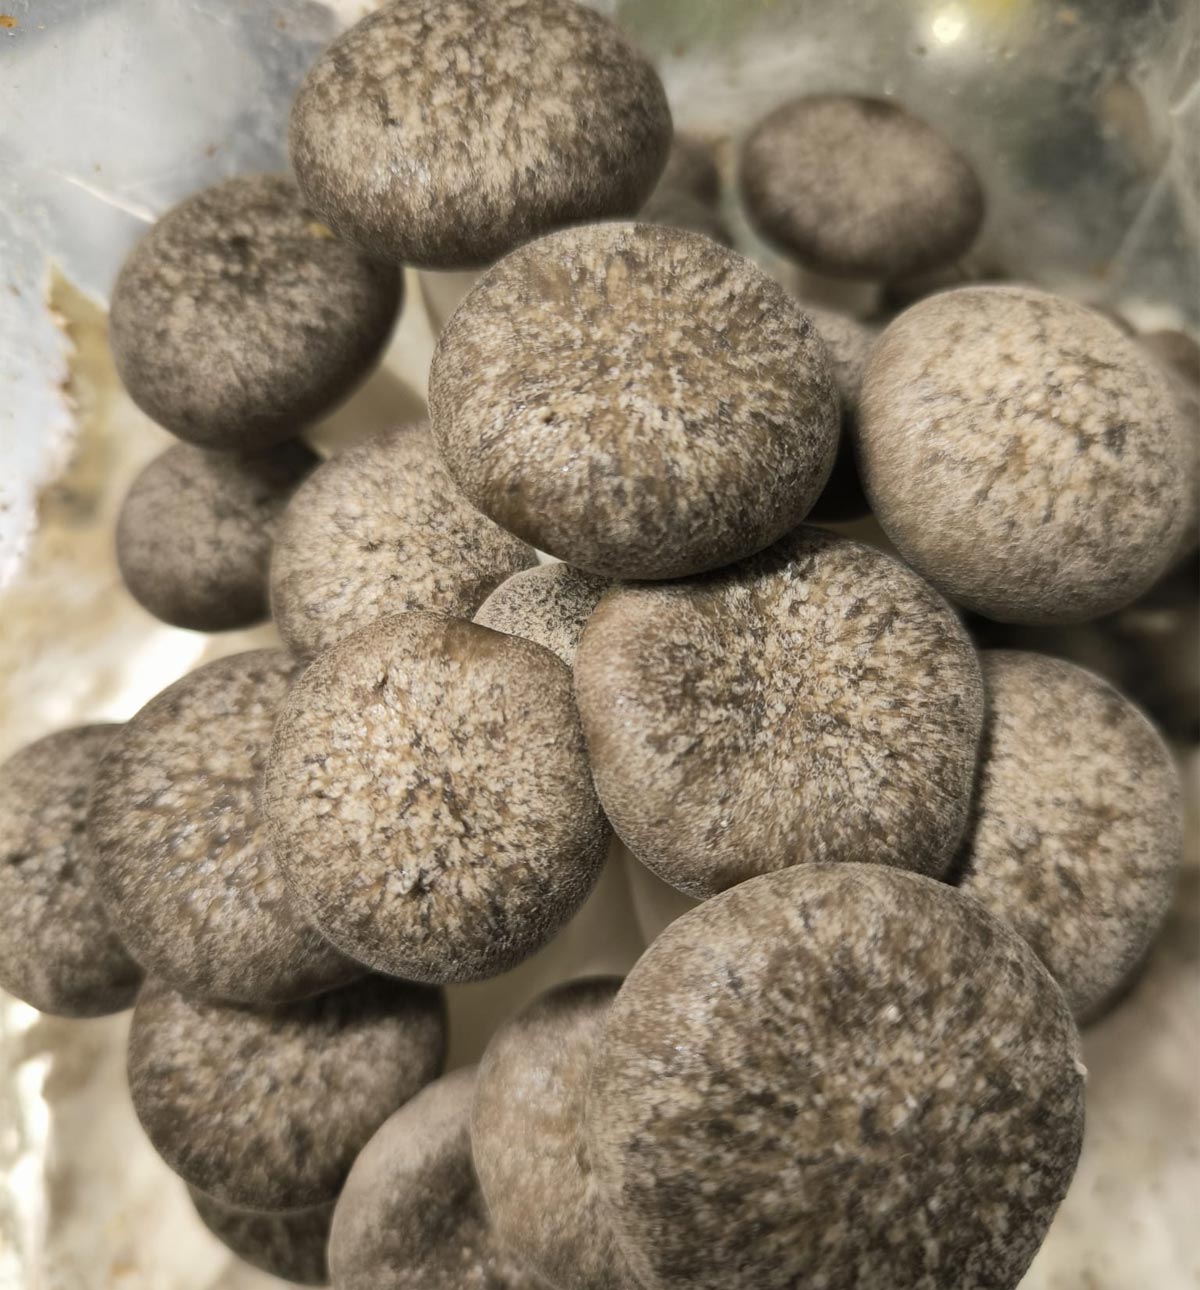
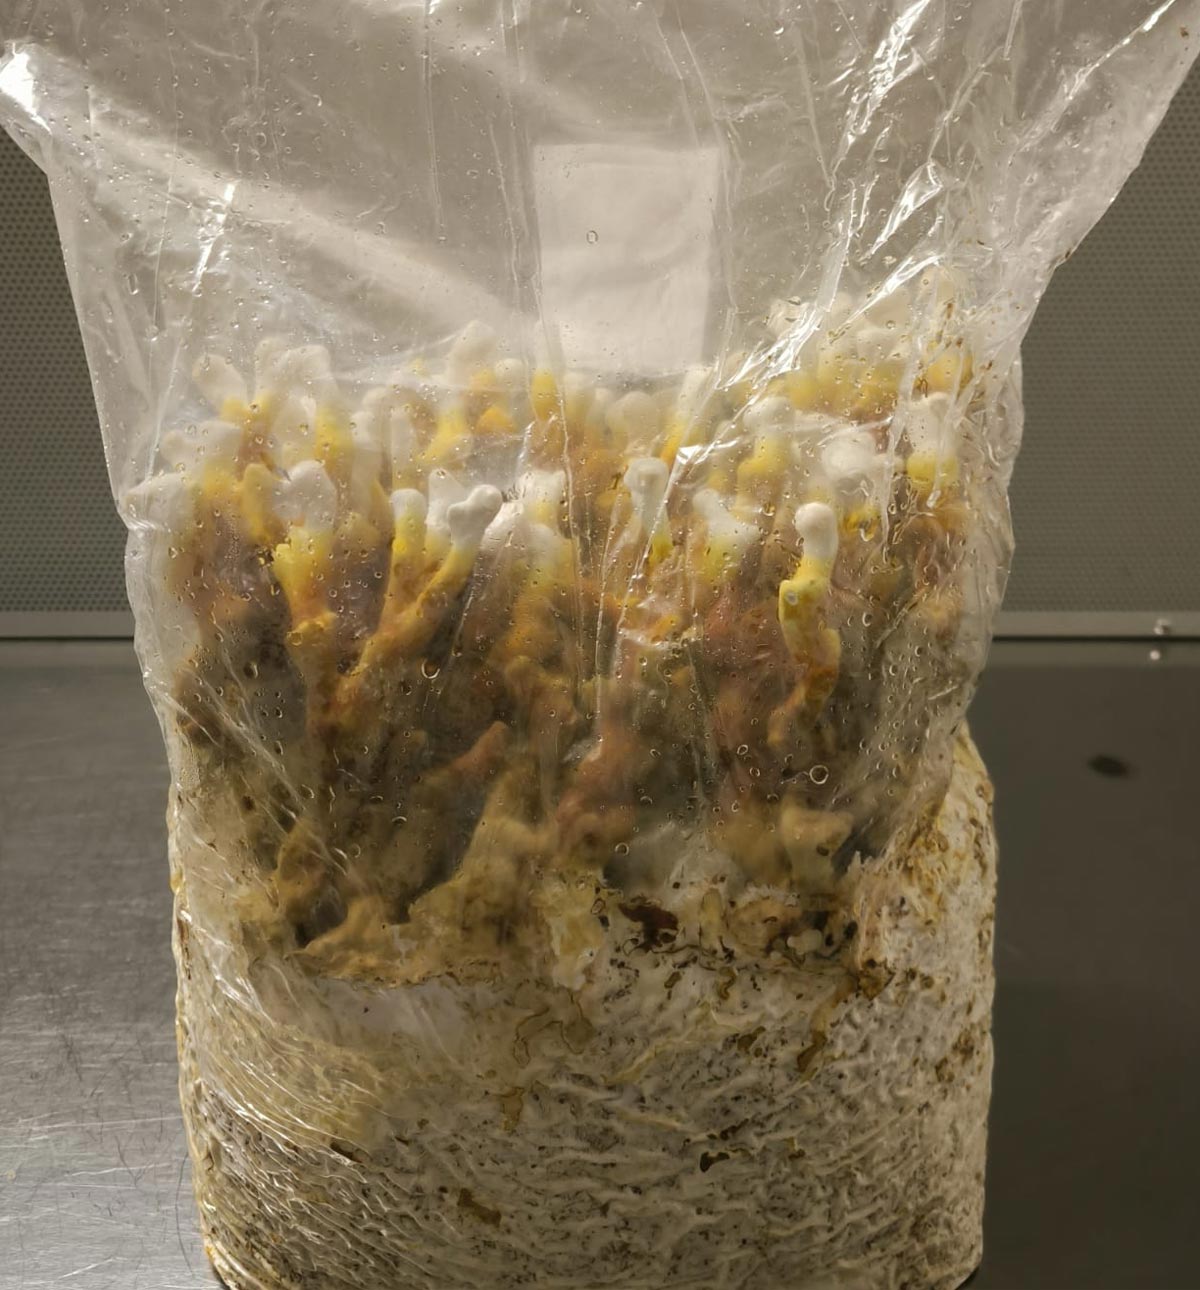
TOP FRUITING
Mushrooms best suited for top fruiting:
Pioppino (Cyclocyb aegerita)
Black Pearl oyster mushroom
Chesnut mushroom (Pholiota adiposa)
Reishi (Ganoderma lucidum & sinense)
With this method, mushrooms grow on the part of the substrate not in contact with plastic — the air pocket.
How to do it:
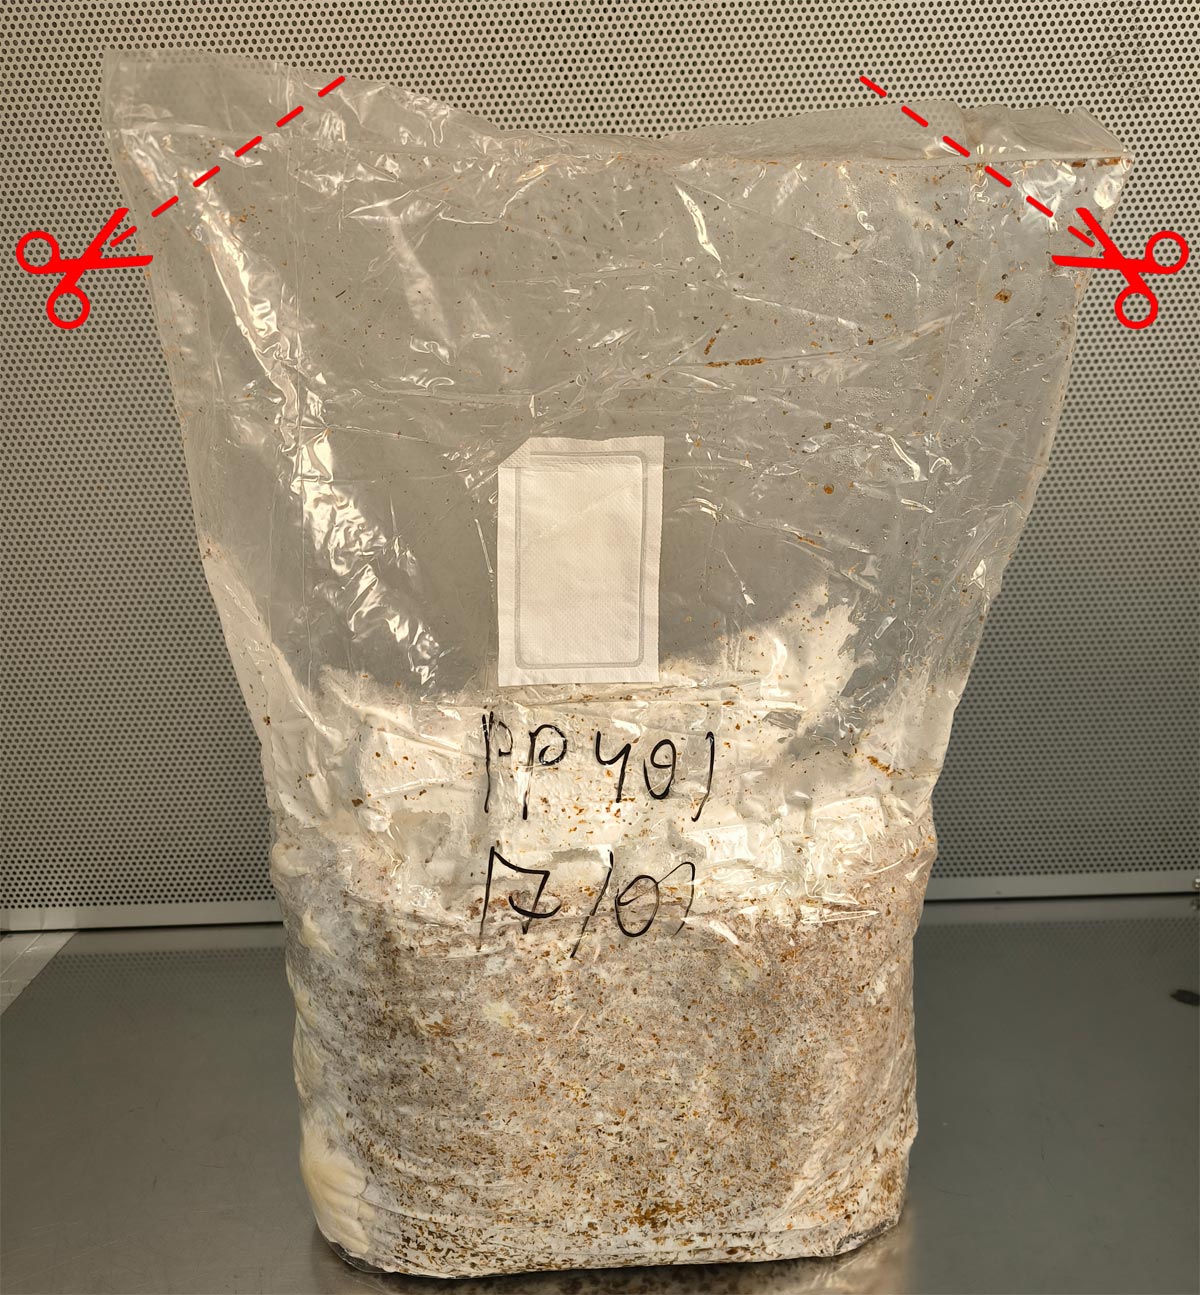
Cut the two upper corners of the bag and place it in a cool, bright spot without direct sunlight.
Humidification:
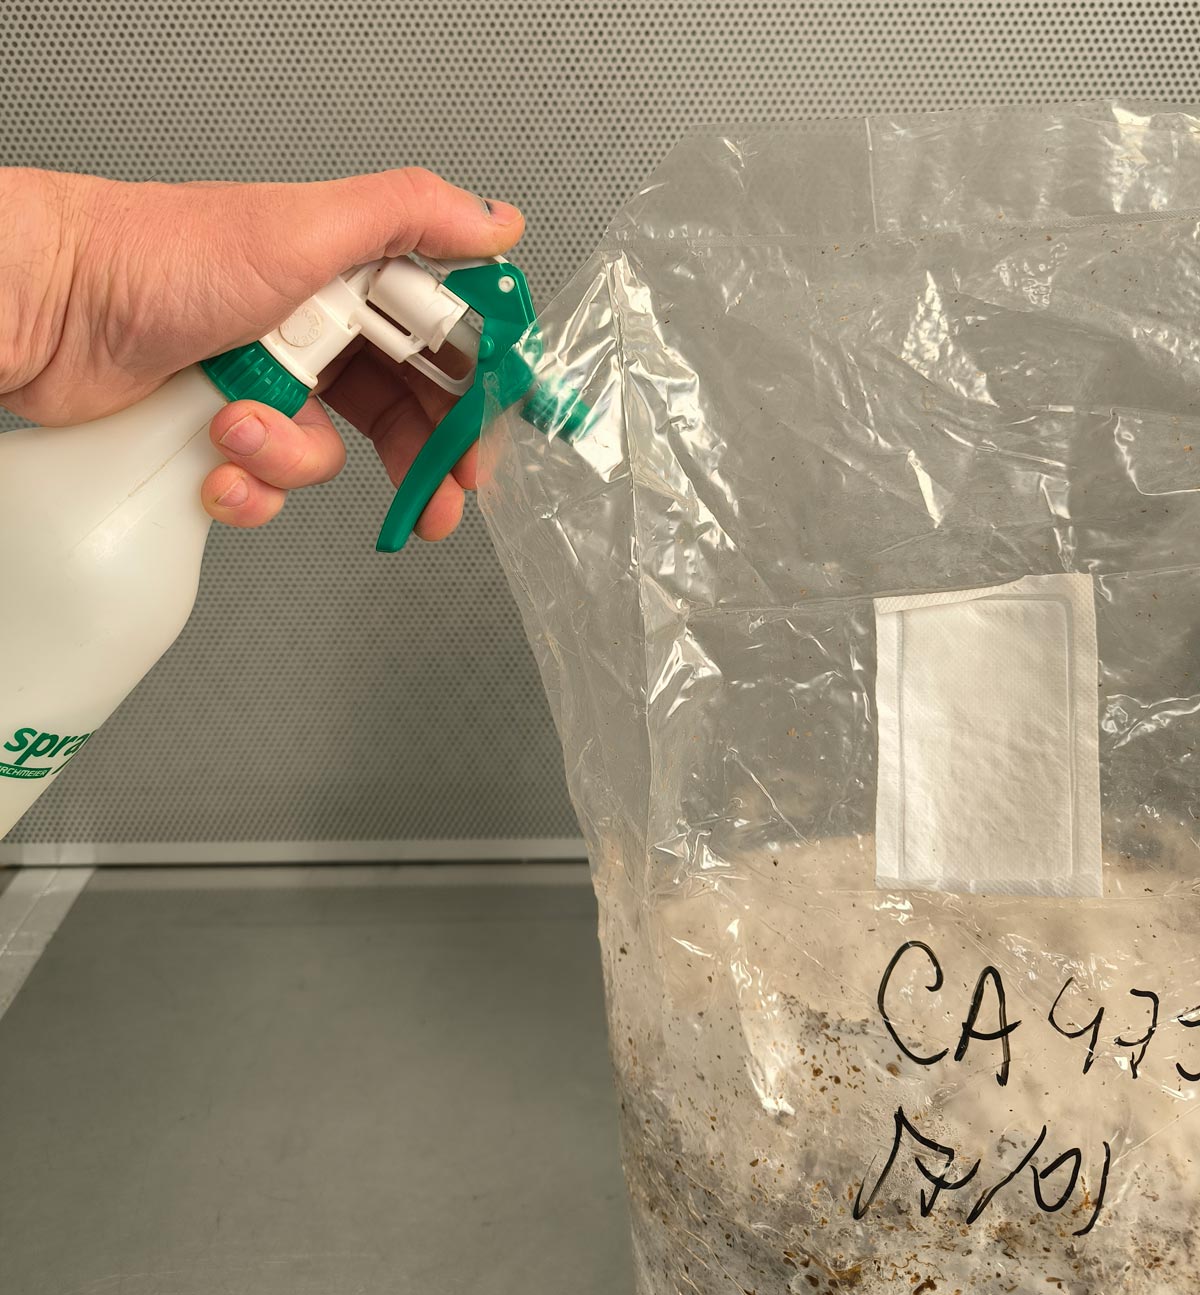
Spray water 1–2 times daily through the holes, without soaking. After 7–10 days, primordia appear, and mushrooms start growing a few days later.
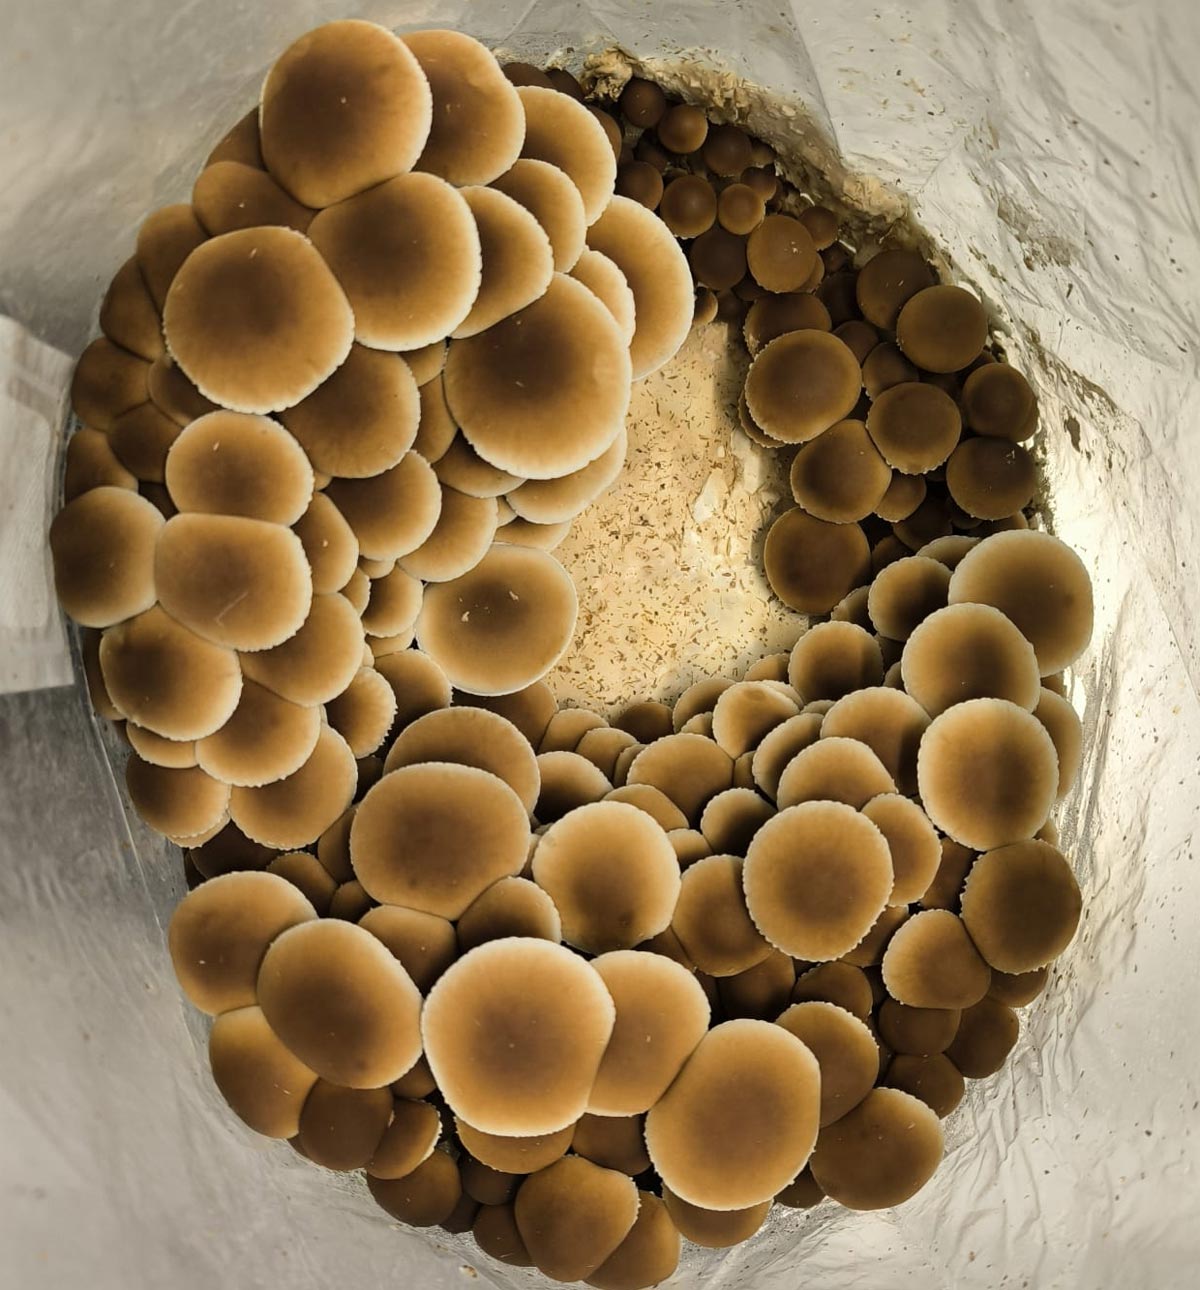
At this stage, cut the top of the bag along the white filter to provide more oxygen. Continue spraying until mushrooms mature.
This method is very easy and safe since everything happens inside the bag, requiring only a small spray bottle.


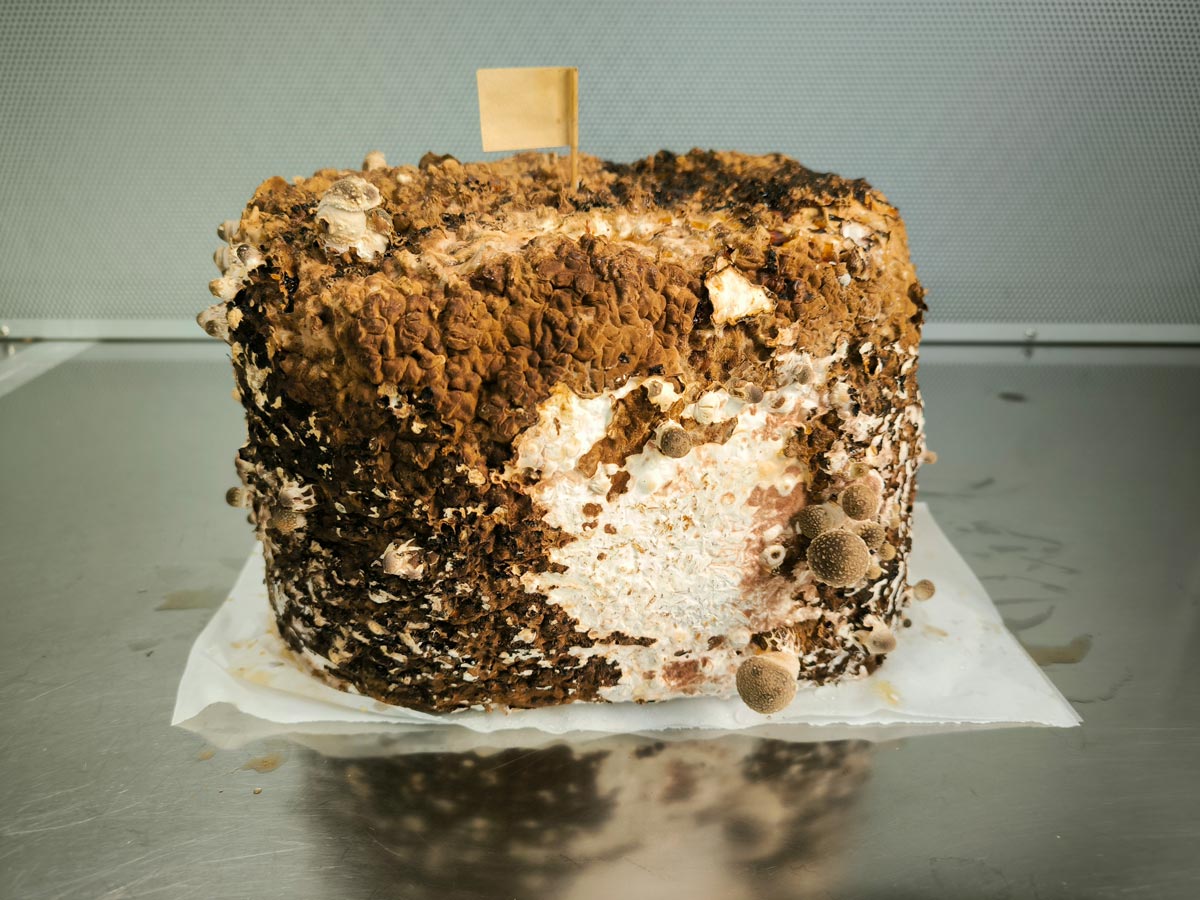
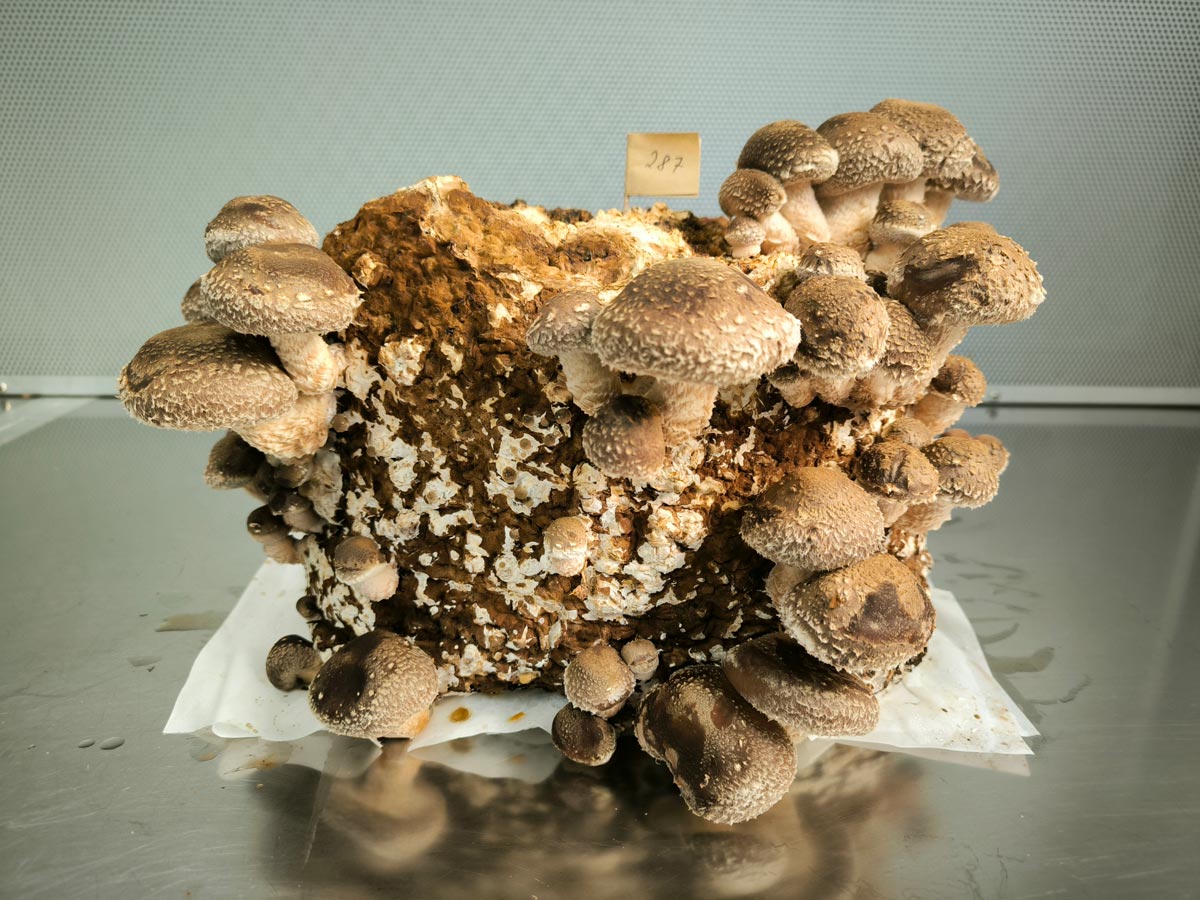
“Naked” FRUITING
Mushroom: Shiitake (Lentinula edodes)
Our Shiitake friend likes to fruit without “clothes” — a cold shock and a tap, like a mischievous child. Mushrooms grow in all directions, plastic or not, so just let it do its thing.
How to do it:
Wash your hands well, then tap the bottom of the kit three times. This simulates a dead tree falling after being colonized by mycelium for months or years. Remove the substrate block from its bag and place it on parchment paper to catch the brown liquid (metabolites).
Humidification:
Spray cold water over the entire block until nearly soaked. Some like to soak it straight in cold water for a few minutes to simulate heavy autumn rains.
Without plastic protection, the block must be kept in a very humid environment like the SHOTGUN method or better, the Martha tent described above.
Unlike other mushrooms, you can spray the block lightly at each humidification until primordia appear, then only spray the container walls.
Harvest
Once the kit is ready to fruit, expect primordia (baby mushrooms) in 5 to 10 days. From primordia to mature mushroom takes 7 to 10 days, with the mushroom doubling in size daily.
For pleurotes, pioppini, fatty pholiotes, and shiitake, maturity is when the cap edge is horizontal or less curled up. If yellowing starts, harvest immediately and use quickly. Younger mushrooms keep better.
To harvest, slide your fingers behind the mushroom cluster, twist gently while pulling, and cut off the woody substrate.
No washing needed; indoor-grown mushrooms are clean.
Second Flush
SIDE FRUITING: Cover the first harvest hole with tape and make a new hole elsewhere. With care, a second flush may appear after 2–3 weeks.
TOP FRUITING: After harvesting all mushrooms (preferably with gloves), prepare the kit for SIDE FRUITING and start again.
Shiitake (naked): When no more mushrooms appear, dry the block in a ventilated, dry place for 4–6 weeks, then soak in cold water 24 hours to rehydrate. Restart fruiting conditions.
A kit typically produces about 1 kg of mushrooms over 2–3 harvests.
Extending Kit Life
Kit longevity depends on mycelium age and water content. Mycelium ages like us and must reproduce by spores, the anaavoidable part.
But water content can be managed.
The kit contains about 60% water and 40% organic matter. Humidifying only prevents drying but doesn’t directly boost growth.
Mushrooms are 90% water, drying out the substrate. To rehydrate, soak the kit submerged under weight for 24 hours. Mycelium tolerates water well, no worries. For best results, boil and chill the water beforehand to avoid contamination and stimulate the mycelium like cold autumn rain.
End of Cycle
Mold signals the end of your kit’s life as it consumes the mycelium.
Kits make excellent compost. Gardeners can place them in a dark, humid spot without the plastic for a last chance. They might fruit again in autumn, but watch out for unwanted or toxic mushrooms.
Timing by species
Grey oyster
(pleurotus ostreatus)

Incubation, at lab:
2-3 weeks at 20-24°C
Fruiting:
10-20 days at 15-20°C
2nd flush:
10-20 days at 15-20°C
White oyster
(Pleurotus ostr.
var. Florida)

Incubation, at lab:
2 weeks at 20-24°C
Fruiting:
7-20 days at 17-20°C
2nd flush:
10-20 days at 17-20°C
Yellow oyster (Pleurotus citrinopileatus)

Incubation, at lab:
10-15 days at 20-24°C
Fruiting:
10-20 days at 17-20°C
2nd flush:
10-20 days at 17-20°C
Pink oyster (Pleurotus djamor)

Incubation, at lab:
2 weeks at 20-24°C
Fruiting:
7-20 days at 18-25°C
2nd flush:
7-20 days at 18-25°C
Italian oyster (Pleurotus pulmonarius)

Incubation, at lab:
2 weeks at 20-24°C
Fruiting:
10-20 days at 15-20°C
2nd flush:
10-20 days at 15-20°C
Lion’s mane
(Hericium erinaceus)

Incubation, at lab:
2 weeks at 20-24°C
Fruiting:
10-20 days at 15-20°C
2nd flush:
10-20 days at 15-20°C
Pioppino
(cyclocybe
aegerita)

Incubation, at lab:
2 weeks at 20-24°C
Fruiting:
10-20 days at 17-20°C
2nd flush:
10-20 days at 17-20°C
Chesnut mush. (Pholiota
adiposa)

Incubation, at lab:
8-12 weeks 20-24°C
Fruiting:
10-20 days at 17-20°C
2nd flush:
10-20 days at 17-20°C
Shiitake
(Lentinula
edodes)

Incubation, at lab:
8-12 weeks at 20-24°C
Fruiting:
7-20 days at 15-20°C
2nd flush:
7-20 days at 15-20°C
Red Reishi
(Ganoderma
lucidum)

Incubation, at lab:
2 weeks at 20-24°C
Fruiting:
2-3 months at 22-26°C
Incubation:
During incubation, we simulate summer, when the mycelium quietly consumes its old log or damp stump in the forest undergrowth.
This phase usually takes place at our facility under controlled conditions.
Fruiting:
Fruiting occurs in autumn, when temperatures drop. The mycelium then approaches the surface of the log and, bathed in light and oxygen, prepares to produce its fruiting body — the mushroom!
We simulate this by making holes in the kit and placing it in a cool, well-ventilated spot without drafts, and in a bright area but out of direct sunlight.
Humidify frequently without soaking the substrate, so the young mushrooms can appear without drying out.
The first days of mushroom growth are the most critical for proper humidification!
Species – specific Tips
As each mushroom species is different, you will find below additional information about the strain you are growing.
For all mushrooms :
All species produce white spores at the end; not dangerous but avoid growing near bedrooms if asthmatic.
Mushrooms may grow between substrate and plastic away from holes — cut plastic 1 cm ahead of clusters if >3–4 cm; otherwise wait.
Oyster mushrooms – Pleurotus sp. :
Resilient and easy. Harvest when caps curve up or horizontal.
Italian oyster shows gills early; harvest quickly.
Yellow oyster grows in clusters with tough stems, edible sliced thin.
Lion’s Mane – Hericium erinaceus:
Sensitive to oxygen, often fruits early in TOP FRUITING. Scratch surface to remove aborted mushrooms, then switch to SIDE FRUITING. Use a single 5 cm hole or smaller to concentrate growth. Young mushrooms may be pink, turning white as they mature.
Pioppino – Cyclocybe aegerita :
Usually TOP FRUITING. Mycelium forms fragile brown crusts at surface and like as well grow at substrate-plastic interface. Harvest the latest when cap edges whiten. Remove debris and prepare for SIDE FRUITING.
Chesnut mushroom – Pholiota adiposa :
Very oxygen sensitive, small air pockets trigger fruiting. Make small openings for mushrooms to exit.
Shiitake – Lentinula edodes
Grown naked in humid conditions. Spray 2–3 times daily until primordia appear. Harvest by cutting at substrate base.
Reishi – Ganoderma lucidum et sinense :
Primordia appear after 2 weeks. Fruiting at 22–26°C. For long stems, keep in bag until exposed to oxygen to form cap. Spores dark brown, covering caps at cycle end.
Questions or Issues?
Contact us by email for advice, replacements, or assistance — we’re here to help!
hello@floydfungi.ch